Your cart is currently empty!
Digital Grit: Exploring Linocut Textures
Lately, my brain has been buzzing with a new obsession: linocut art.
There’s something undeniably captivating about its raw, gritty textures. It reminds me of old protest posters. I’ve been spending hours watching linocut videos, fascinated by the carving process and how those bold prints came to life.
So, What Exactly is Linocut?
Before I dive into my digital experiment, let’s quickly break down what linocut is. Also known as lino printing, it’s a relief printmaking technique. Think of it like making a giant, custom stamp.
These are the basics:
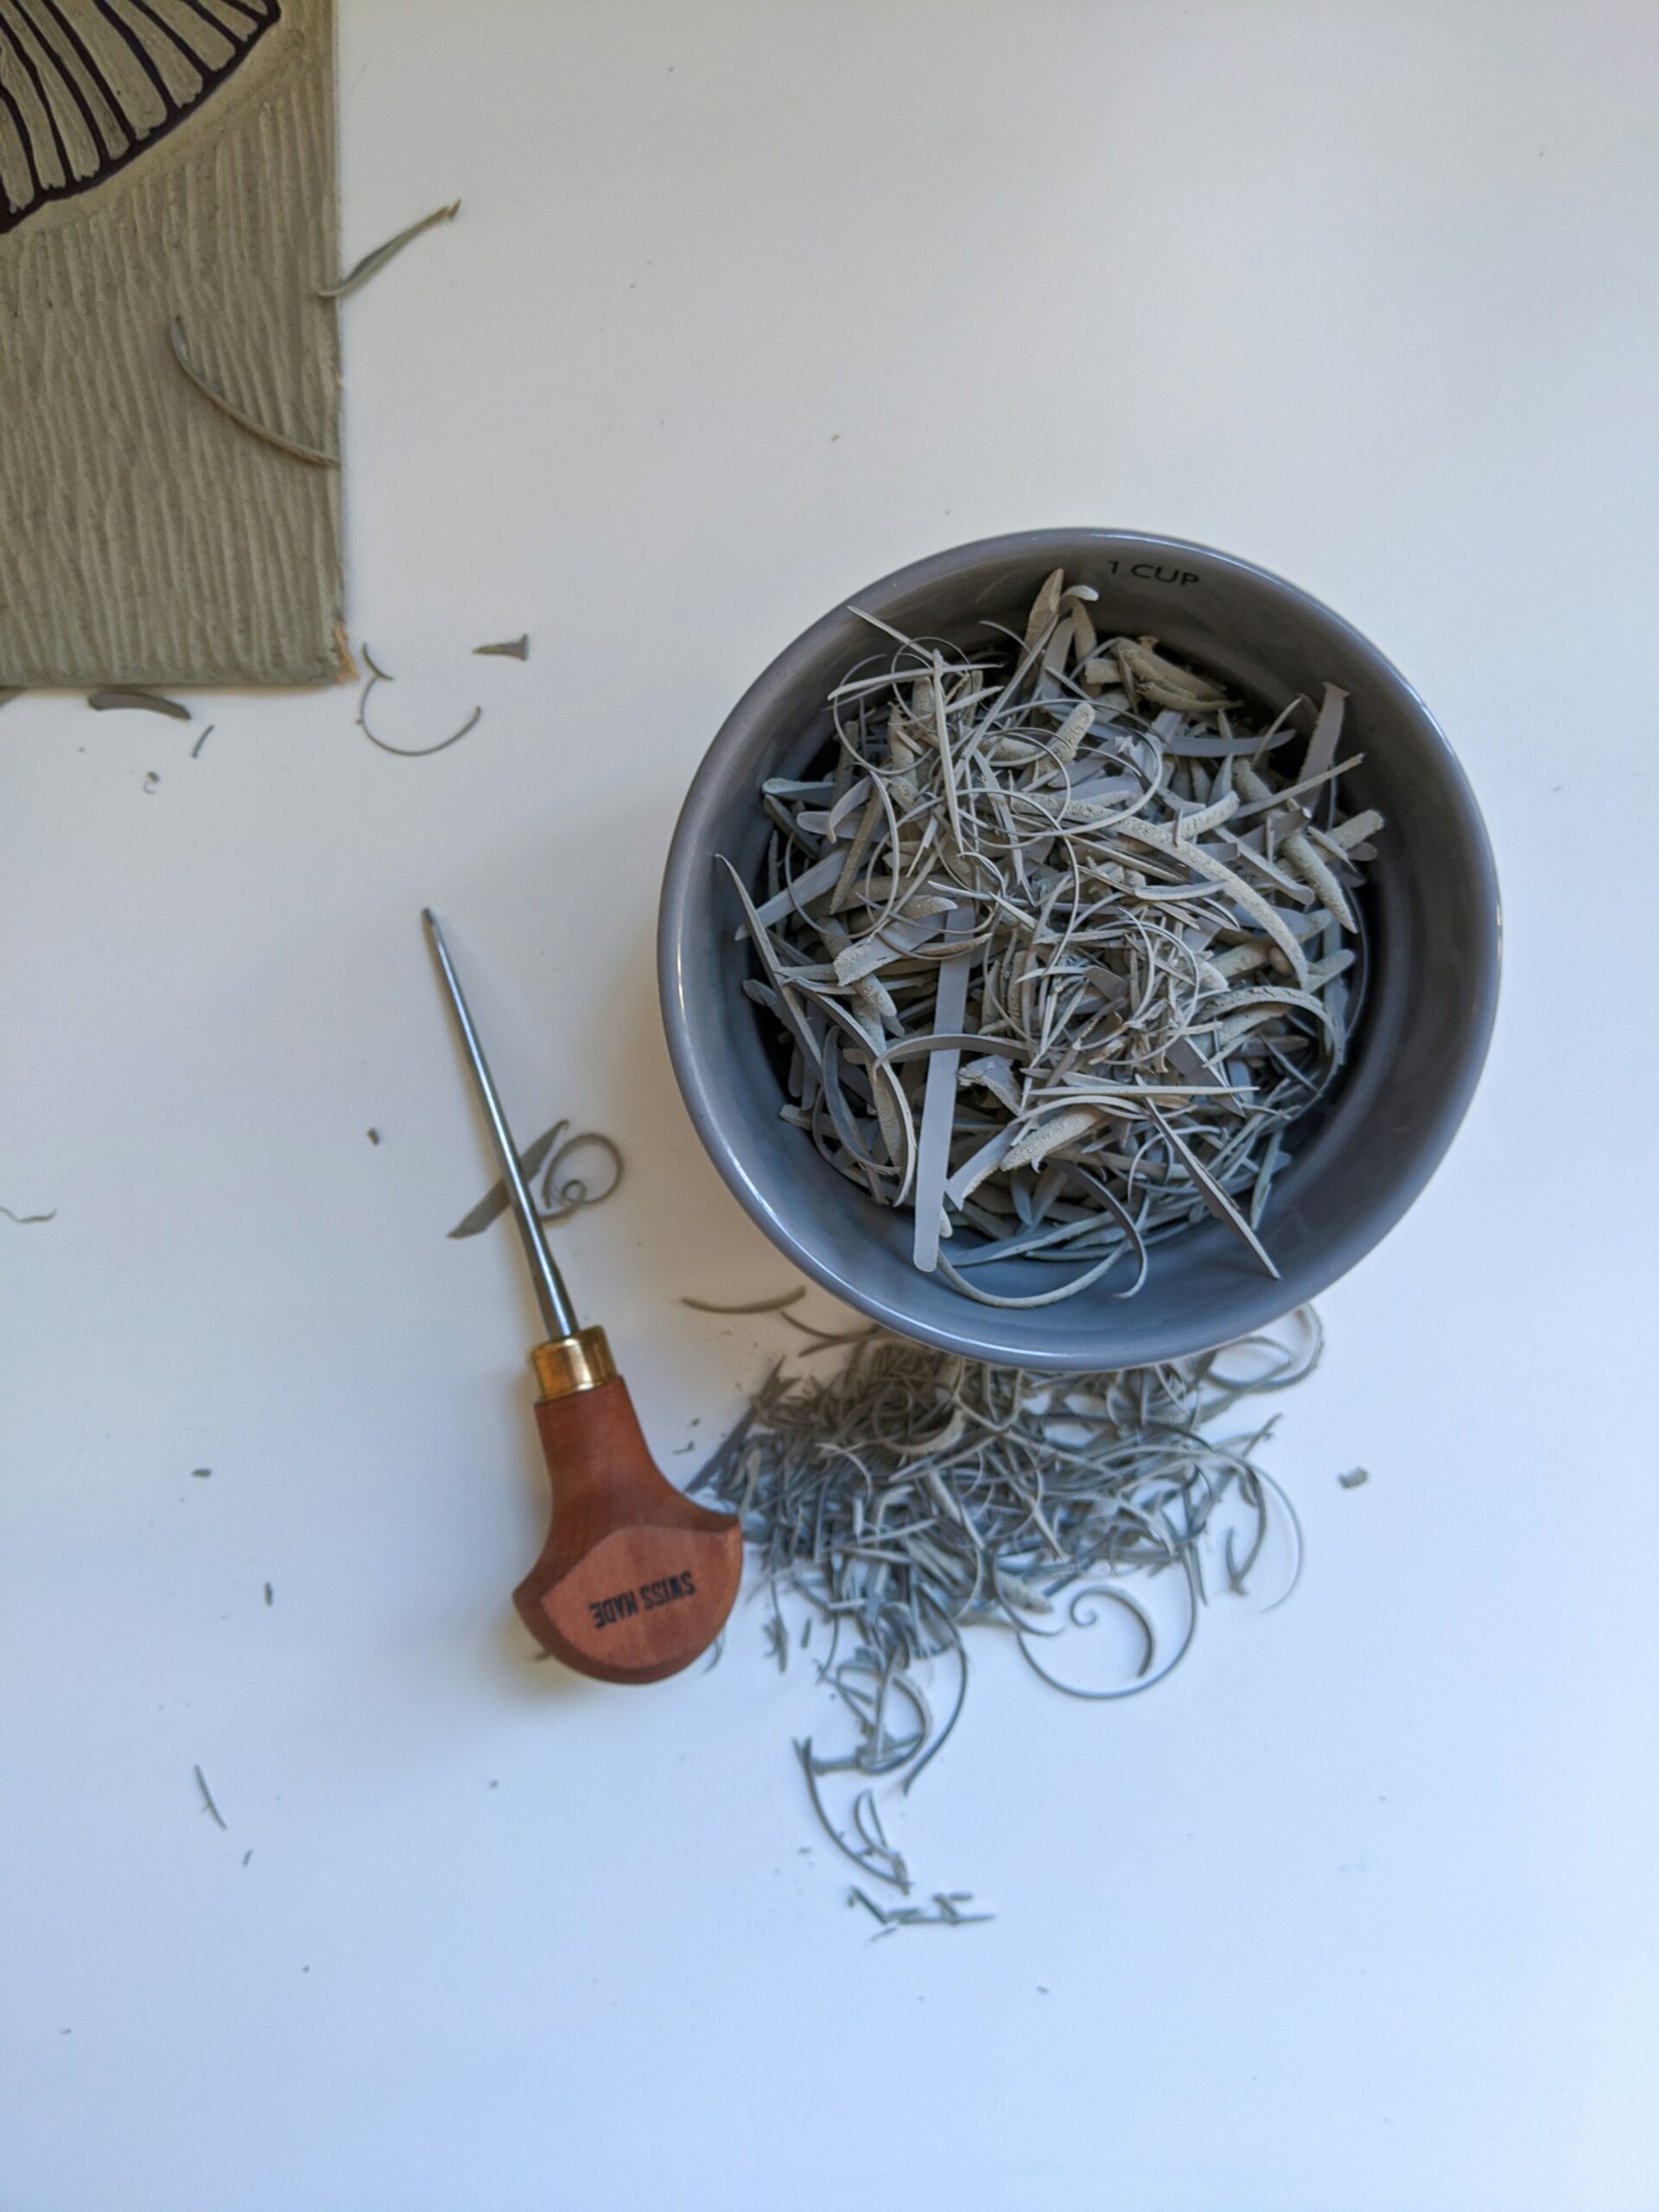
- The Material: You start with a sheet of linoleum (yes, the same material once used for kitchen flooring). Unlike wood, linoleum has no directional grain, which makes it much easier to carve in any direction.
- The Carving Process: Using special tools called “gouges”, you meticulously cut away the areas of the linoleum block that you don’t want to appear in your print. What’s left raised is your design.
- Inking and Printing: You then roll ink onto the raised parts of the block. A piece of paper is laid on top, pressure is applied, and when you peel it away, there is your design in mirror image.
This method is great for producing bold, graphic images with a distinct raw texture.
My Digital Dip into Linocut
Eventually, I hope to try the real thing, but for now, I’m just diving in with what I have. After all, money doesn’t exactly grow on trees, and new art supplies add up quickly.
So, before investing in physical carving tools and linoleum blocks, I grabbed my iPad and Procreate to see if I could capture the essence of linocut digitally. My goal wasn’t perfection, but rather to understand the process and feel of it.
I knew dedicated linocut brushes were available online, but since this was just an experiment, I decided to use what I had. I grabbed the Inka brush, which comes standard with Procreate. Its natural rough texture is a good starting point.
The Digital “Carving” Process
- Black Canvas Start: I began with a black-filled canvas. This felt like starting with a fresh linoleum block.
- “Erasing” the Design: This is where the digital “carving” came in: I used the eraser tool to erase the shape and outlines of my design. This mimics the way a linocut artist carves away the negative space to reveal the image from within the block. It actually felt pretty intuitive.
- Hitting a Wall: As you might see in the accompanying video, I hit a familiar creative wall. I got a bit stuck on what to do with the stem and the lower petal of the flower…but decided to not dwell on it too much.
- Colour Blocking & Layers: Once the basic “carving” was done, I moved onto colour blocking. Using separate layers, I started to fill in the different parts of the flower, giving it colour and dimension. This stage felt more like traditional digital painting, but the underlying texture from the Inka brush kept that gritty linocut feel.
- Final Grit with RISO: Finally, for that extra layer of texture, I masked the flower and applied a RISO print brush. This added the speckled, slightly misaligned of RISO prints. I wanted it to have a “grungier” feel.
The Verdict (So Far…)
So, what do I think of the final digital linocut flower?
I like it, but I don’t necessarily love it(…yet). I definitely need more practice to truly capture the nuances of real linocut. However, it was an incredibly fun experiment, and it confirmed my suspicion: it’s going to be really cool to create some surface patterns with this technique.
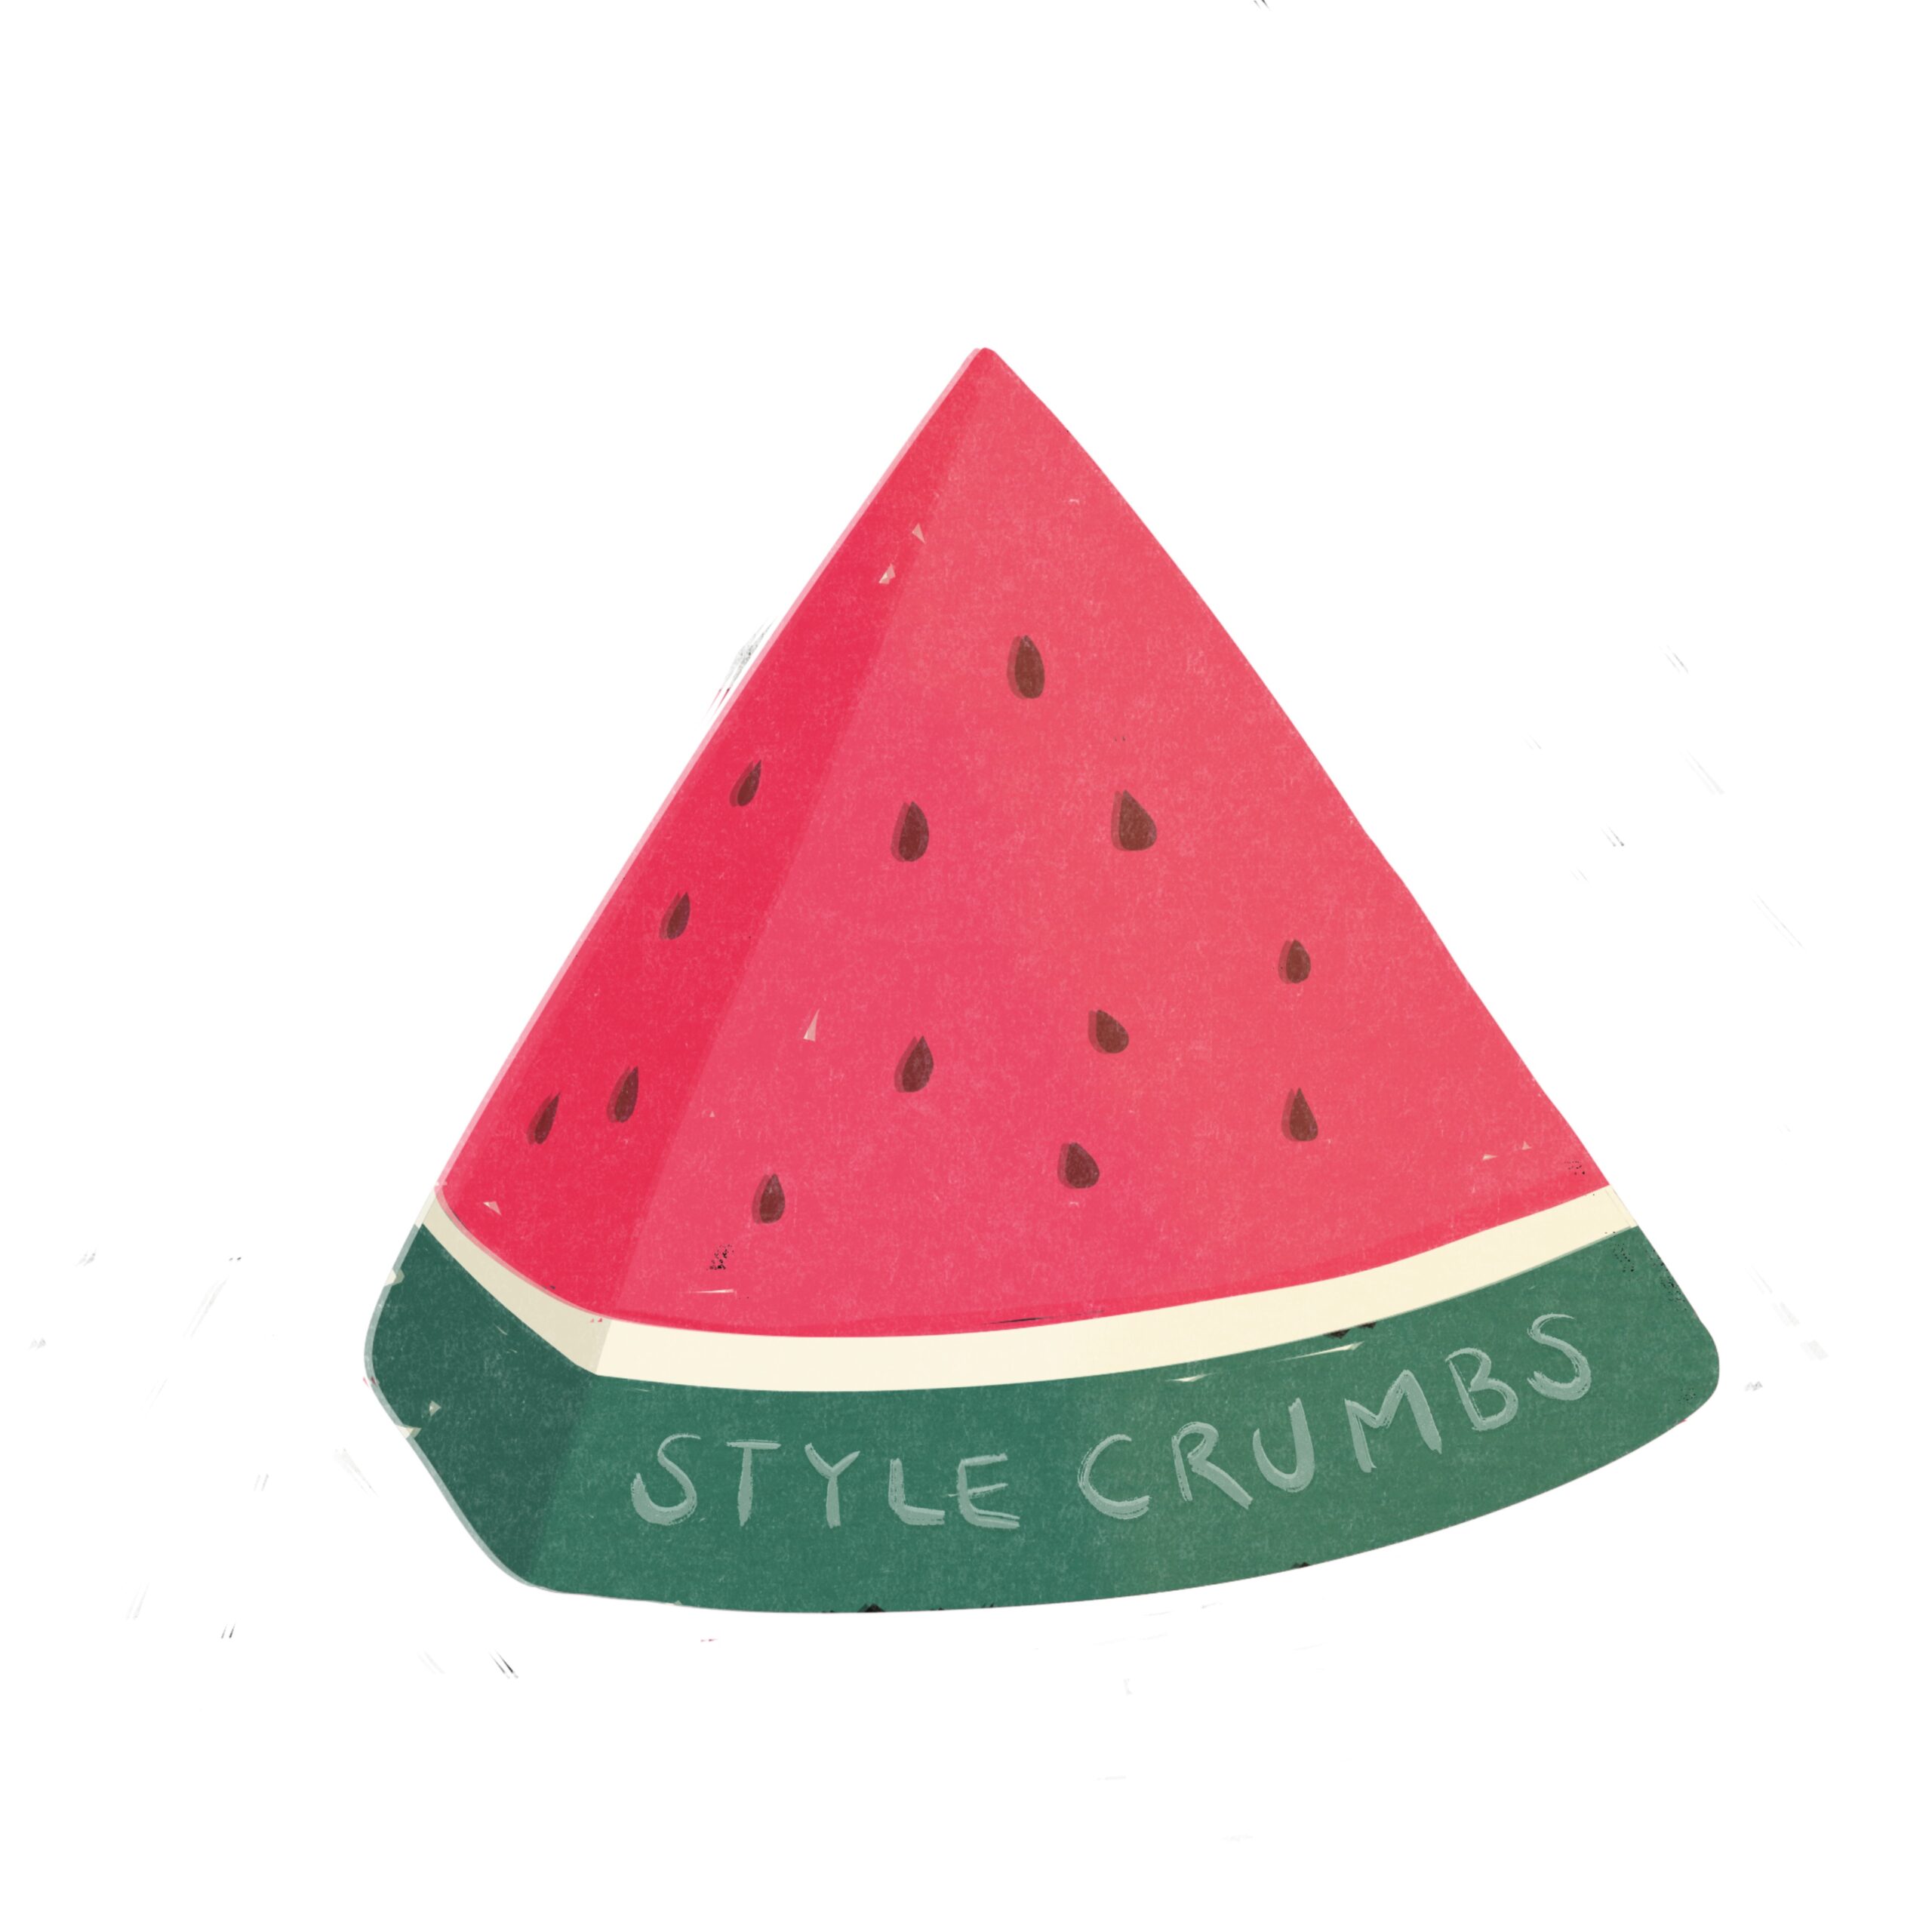
The possibilities for textured designs feel endless. In fact, I was playing around with this watermelon, and although quite less gritty, I really like the look.